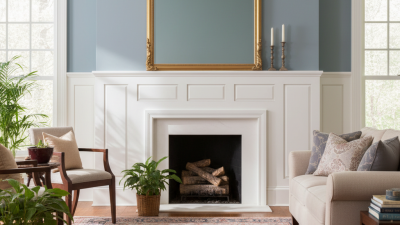
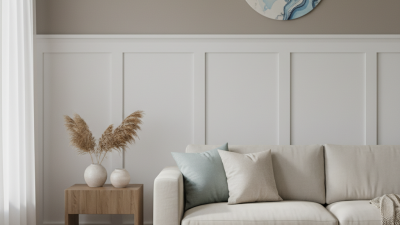
When it comes to wood panel installation, many people hesitate. The task may seem daunting. However, with the right guidance, anyone can achieve professional results. Wood panels add elegance and warmth to spaces. They can transform a simple room into something special.
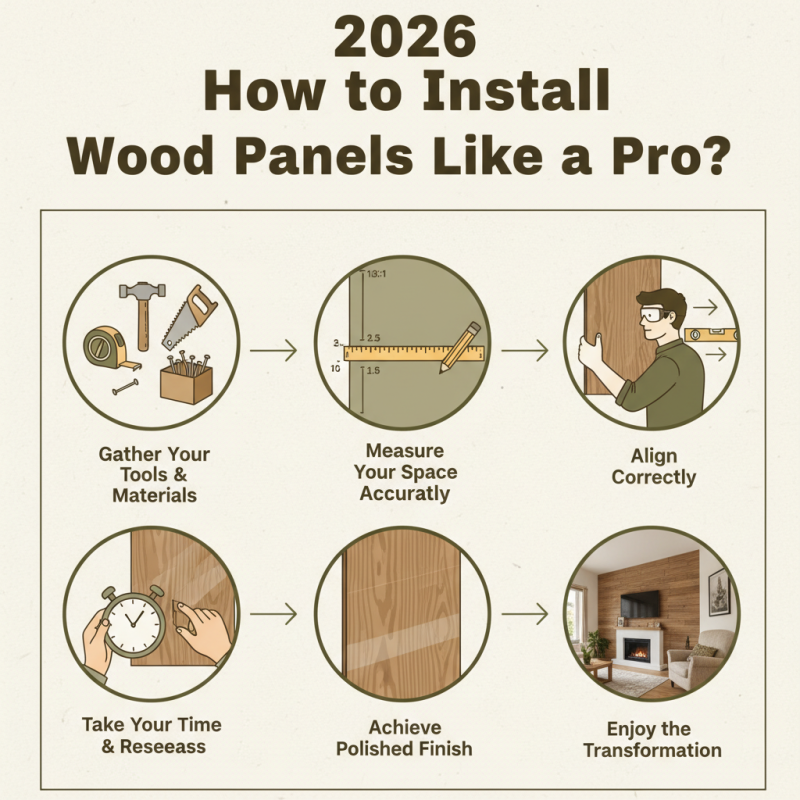
Start by gathering your tools and materials. Proper preparation is crucial. Ensure you have everything within reach. Measure your space accurately; this can save time later. Remember, mistakes in measurement can lead to wasted materials.
As you work, take your time. Rushing can result in errors. Aligning the panels correctly is key for a polished finish. Don’t hesitate to reassess your placements regularly. Wood panel installation may not be perfect on the first try, but patience is essential for improvement. Each project is a learning experience. Embrace the process and enjoy the transformation of your space.
When considering wood panels for your project, it’s essential to know the options. Different types cater to various features and aesthetics. Solid wood panels are a classic choice, providing durability and a timeless look. They are heavy but can warp with humidity. Plywood, on the other hand, is lighter and tends to resist warping better. But, it might not have the same luxurious feel as solid wood.
MDF is another popular choice, known for its smooth surface. It's easy to paint and ideal for intricate designs. However, MDF can be less resistant to moisture, which is a critical factor in certain environments. Additionally, particle board offers an economical alternative but may not have the same strength or longevity. Choosing the right panel involves careful consideration of your needs, the style you want, and the conditions where it'll be used.
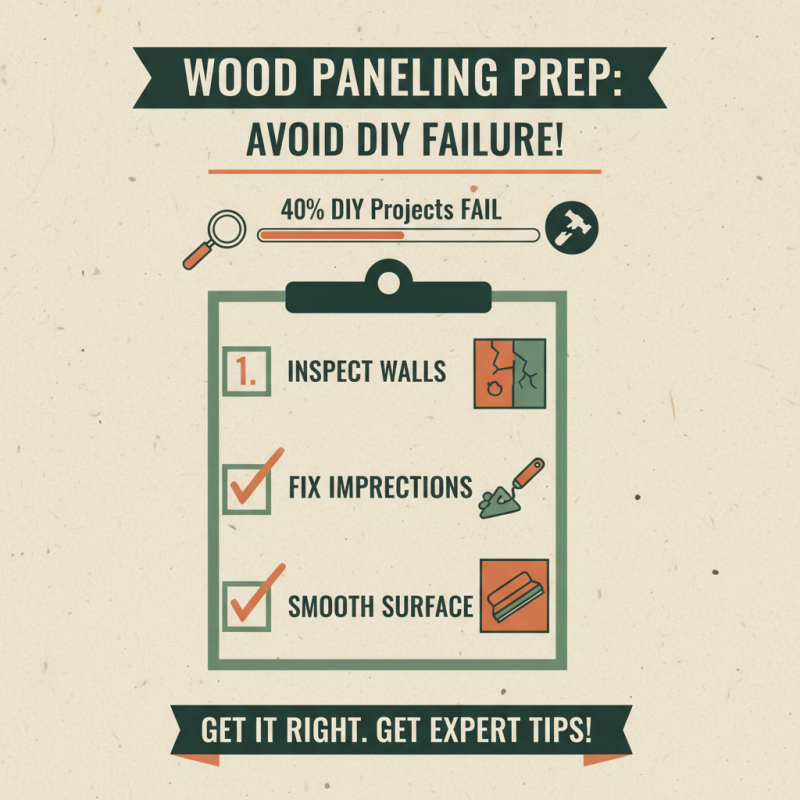
Installation can sometimes become overwhelming. Mistakes may happen, especially when measuring or cutting. It’s crucial to double-check dimensions before making cuts. Even experienced installers face challenges. A slight miscalculation can lead to wasted materials and time. Each wood type also has its quirks during installation. Understanding these nuances can significantly affect the outcome of your project.
| Type of Wood Panel | Description | Common Uses | Installation Difficulty | Cost (per sq ft) |
|---|---|---|---|---|
| Plywood | Engineered wood made from thin layers of veneer. | Walls, furniture, cabinetry. | Moderate | $1.50 - $4.00 |
| MDF (Medium Density Fiberboard) | Composite wood made from wood fibers bonded with resin. | Interior applications, moldings, cabinetry. | Easy | $1.00 - $3.00 |
| OSB (Oriented Strand Board) | Engineered wood made from strands of wood bonded with adhesive. | Subflooring, sheathing, industrial applications. | Moderate | $1.20 - $2.50 |
| Particle Board | Wood chips and resin compressed into sheets. | Low-cost furniture, cabinetry. | Easy | $0.80 - $2.00 |
| Solid Wood Panels | Made of solid pieces of wood, known for durability. | High-end furniture, cabinetry, flooring. | Challenging | $3.00 - $10.00 |
When preparing to install wood panels, having the right tools is crucial. Essential tools include a measuring tape, level, and saw. A good quality saw is key for making precise cuts, as reported by industry surveys revealing that inaccurate cuts can lead to a 20% increase in wasted materials. Additionally, a pneumatic nail gun can expedite the installation process, saving both time and labor.
Consider the materials involved. Premium wood panels typically come in various finishes and sizes. Industry insights show that the average homeowner spends around $1,500 on materials alone. This cost can vary based on wood type and panel thickness. Remember to factor in adhesive or a suitable power drill, which can further impact installation efficiency.
Preparation is just as vital as execution. Ensure your workspace is organized. Clutter can lead to misplaced tools or wasted time. Also, poor lighting might miss critical misalignments during installation. A reported 30% of DIY enthusiasts experienced challenges linked to inadequate lighting. Emphasizing careful planning can lead to smoother installations, saving effort and resources in the long run.
Preparing walls for wood panel installation involves meticulous attention to detail. Research indicates that approximately 40% of DIY projects fail due to inadequate preparation. To avoid this, start by inspecting the wall's surface. Look for imperfections, such as cracks or holes. These can interfere with the paneling, leading to an uneven finish.
Next, clean the walls thoroughly. Dust and grime can affect adhesion, resulting in panels that don’t stick properly. A damp cloth or sponge works well for this. If the wall has old paint, consider sanding it down. A smooth surface ensures better results. The data shows that proper wall preparation can improve the longevity of wood panels by up to 30%.
After cleaning, check for moisture. High humidity can cause warping or mold within the panels. Using a moisture meter can help determine if your walls are suitable for paneling. It might be wise to invest in a dehumidifier if levels are high. Lastly, plan the layout of the panels carefully. This step is crucial for achieving a professional look. Creating a detailed guide of where each panel will go can mitigate miscalculations during installation.
Cutting and fitting wood panels accurately requires careful planning and practice. According to a recent report by the Woodworkers Guild, precision in panel installation can increase project durability by up to 30%. One essential technique is using a straightedge for cutting. This method aids in achieving clean, straight cuts that prevent the need for adjustments later.
Tip: Always measure twice before cutting. It's easy to make mistakes, and rework can be time-consuming. Use a high-quality saw suitable for your material type. A poor quality saw can lead to splintering and uneven edges.
Fitting panels into place is just as crucial. A tight fit helps prevent gaps. Gaps can lead to warping or damage over time. Practice your fitting technique by dry-fitting pieces before final installation. This step allows you to identify issues without committing to cuts.
Tip: Use shims for minor adjustments. They offer a quick fix for alignment issues. However, don’t rely too heavily on shims. A poorly fitted panel can ruin the appearance and functionality of your project. Stay focused and patient during installation for the best results.
When installing wood panels, finishing touches are essential for longevity. Sealing your panels protects them from moisture and damage. A good seal enhances the wood's natural beauty. It's recommended to choose a clear sealant or a light stain. Always test on a small area first. This way, you'll avoid unexpected colors.
Maintenance is equally important. Regular cleaning prevents dust accumulation. Use a soft cloth and gentle cleaner. Avoid harsh chemicals that can strip the finish. You might see scratches over time. Consider reapplying the sealant every couple of years. It's an extra step, but worth it for prolonged beauty.
Sometimes, despite our best efforts, things won’t go as planned. Panels may warp or discolor. These issues can be frustrating. Reflect on your techniques and materials used. Adjusting your approach can lead to better results next time. Each installation teaches us something new. Embrace the learning process.