What is Raised Panel Wainscoting and How to Use It?
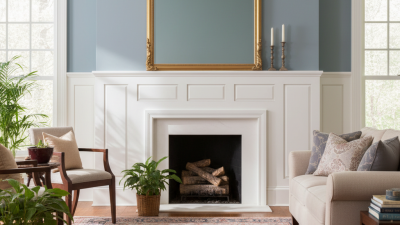
Raised panel wainscoting is a classic design choice that adds sophistication to any room. This decorative wall treatment features panels that are slightly raised from the surrounding wall, creating a dimensional effect. It enhances visual interest while offering practical benefits.
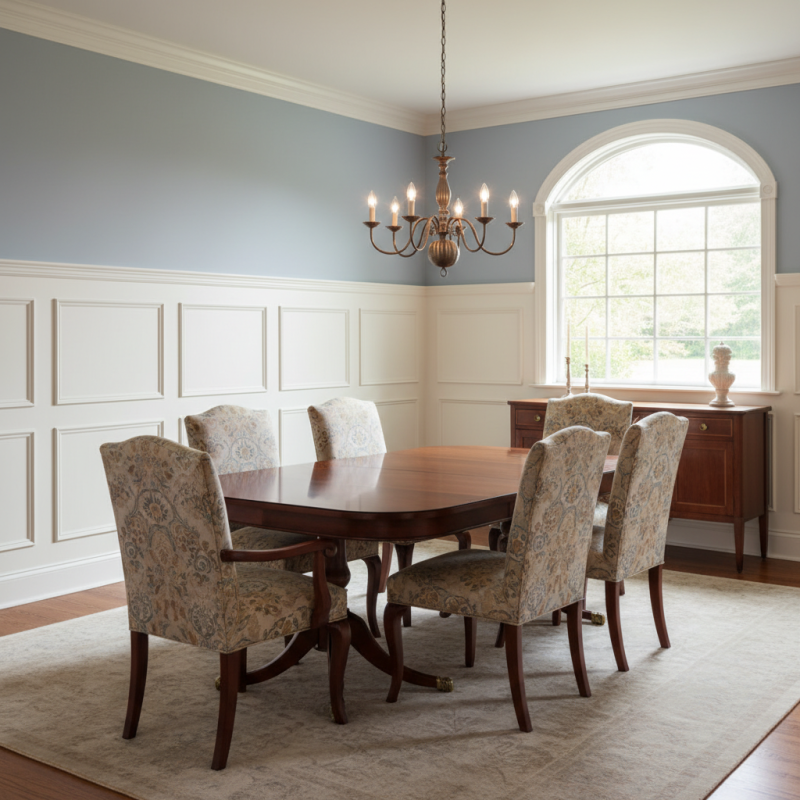
Incorporating raised panel wainscoting can transform plain walls into stunning focal points. You can use it in dining rooms, living areas, or hallways for a touch of elegance. The variety of wood options allows for customization to fit your style. However, the installation process may seem daunting for some. It requires careful measuring and cutting, which can lead to mistakes.
Consider the maintenance involved with raised panel wainscoting. It may need periodic painting or staining to keep it looking fresh. This upgrade can enhance your home’s value, but it also demands attention. Reflection on your design choices can lead to a rewarding experience in home improvement.
What is Raised Panel Wainscoting?
Raised panel wainscoting is a classic design element often found in homes. This decorative feature consists of panels set into a frame, creating depth and texture. It adds character to a room, offering elegance and sophistication. According to a recent industry report, homes with such features can see an increase in value by up to 10%. It's not just about aesthetics; it also serves a functional purpose, protecting walls from scuffs and damage.
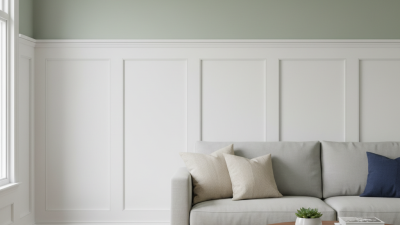
The installation of raised panel wainscoting, however, requires careful consideration. Homeowners should account for the room's size and ceiling height. Misjudging proportions can lead to a cramped feel. While many opt for white or cream finishes, bold colors can make a striking statement but may not appeal to everyone.
Another noteworthy point is the maintenance involved. Wainscoting can collect dust and require occasional touch-ups, especially in high-traffic areas. Not everyone may find it easy to clean or maintain over time. A design that looks stunning initially may lead to frustration if proper care is not taken. Ultimately, raised panel wainscoting is a timeless choice, but it demands respect and attention from those who decide to incorporate it into their spaces.
What is Raised Panel Wainscoting and How to Use It?
| Dimension |
Description |
Material Options |
Style Variations |
| Height |
Typically 32 inches but can vary based on room design |
Wood, MDF, PVC |
Traditional, Contemporary, Victorian |
| Panel Thickness |
Usually 1/2 inch to 3/4 inch |
Plywood, Solid Wood, Engineered Wood |
Raised, Flat, Beadboard |
| Installation |
Can be installed as a DIY project or by professionals |
Natural Stains, Paintable Options |
Flat Panels, Decorative Trim |
| Maintenance |
Requires periodic dusting and cleaning |
Water-resistant Finishes |
Ornate Cornices, Simple Edging |
History and Evolution of Wainscoting Styles
Wainscoting has a rich history that traces back to the 16th century. Initially, it served a practical purpose: insulation and protection for walls. This is where it began its journey. Over time, it evolved from functional to decorative. Each era brought its unique flair to wainscoting styles. In the 17th century, the focus shifted to elaborate woodwork. Craftsmen took pride in intricate designs, showcasing their talent.
By the 18th century, wainscoting had made its way into grand homes. It adorned the walls of aristocratic estates. Styles varied from Colonial to Georgian. The usage of raised panels became popular. These panels added depth and character to any room. However, it’s essential to note that not every style fits every space. Sometimes, choosing the wrong design can make a room feel cramped.
In later years, wainscoting faced neglect. Minimalism took over, and many associated it with outdated decor. Yet today, we're witnessing a resurgence. People appreciate its ability to add warmth and elegance. Wainscoting now incorporates modern materials and finishes. Still, the key is to maintain a balance. The wrong use of wainscoting can clash with a home’s overall aesthetic. Consider the existing decor carefully.
Materials and Techniques Used in Raised Panel Wainscoting
Raised panel wainscoting is a classic design choice that adds depth and elegance to any room. The materials chosen for this style are critical. Solid wood is the most common option, offering durability and a natural finish. You can also use MDF for a cost-effective solution. It can mimic the look of wood while being easier to work with. Pine and oak are popular wood types, but they vary widely in cost and appearance.
Installation techniques are equally important in achieving the right look. Precise cutting and fitting secure a clean finish. Many use a table saw for accurate cuts, but a miter saw works well too. There’s a certain challenge in lining up the panels evenly. Framing should be square and level. Small gaps can spoil the entire look, so attention to detail is essential. It’s also common for DIYers to struggle with caulking. Achieving a seamless look between the panels and the wall may take practice.
Using different stains or paints can fully transform the appearance. This allows you to customize your wainscoting to match your decor. Experimenting with colors can sometimes lead to unexpected results. Some finishes highlight the grain beautifully, while others can look patchy. Finding the right balance is important, but it may require several tries. Embrace mistakes as part of the learning process.
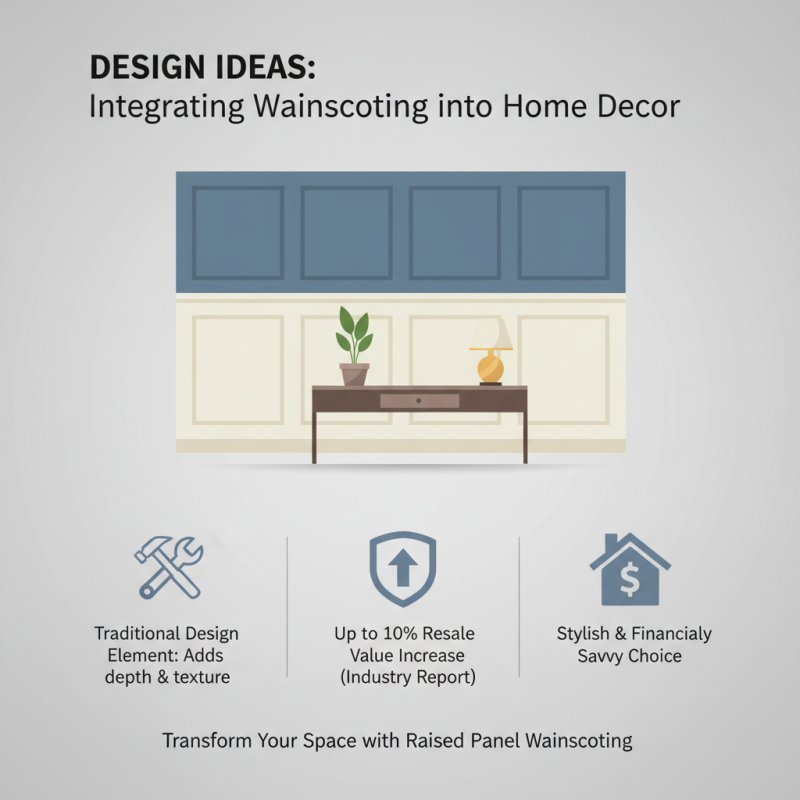
Design Ideas: Integrating Wainscoting into Home Decor
Integrating raised panel wainscoting into your home decor can transform a space. This traditional design element adds depth and texture. According to a recent industry report, homes featuring wainscoting can see a resale value increase of up to 10%. This makes it both a stylish and a financially savvy choice.
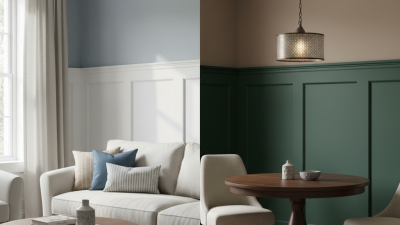
Consider using wainscoting in various rooms. In dining areas, it creates an elegant backdrop. In hallways, it can guide the eye and provide visual interest. When paired with a bold paint color, the contrast can be striking. This method allows you to highlight architectural features. But remember, balance is key; too much detail can overwhelm a small space.
**Tip:** Combine wainscoting with modern fixtures. Mixing styles can create a unique look. Be cautious of overdoing it; simplicity often yields better results.
Also, consider lighting. Uplighting can enhance the textures of the panels. This adds warmth and can change the perception of room size. A common mistake is neglecting the top trim; it needs attention too. Incorporating decorative molding can elevate your wainscoting, leading to a cohesive design. Reflect on your space’s flow; it should feel inviting, not crowded.
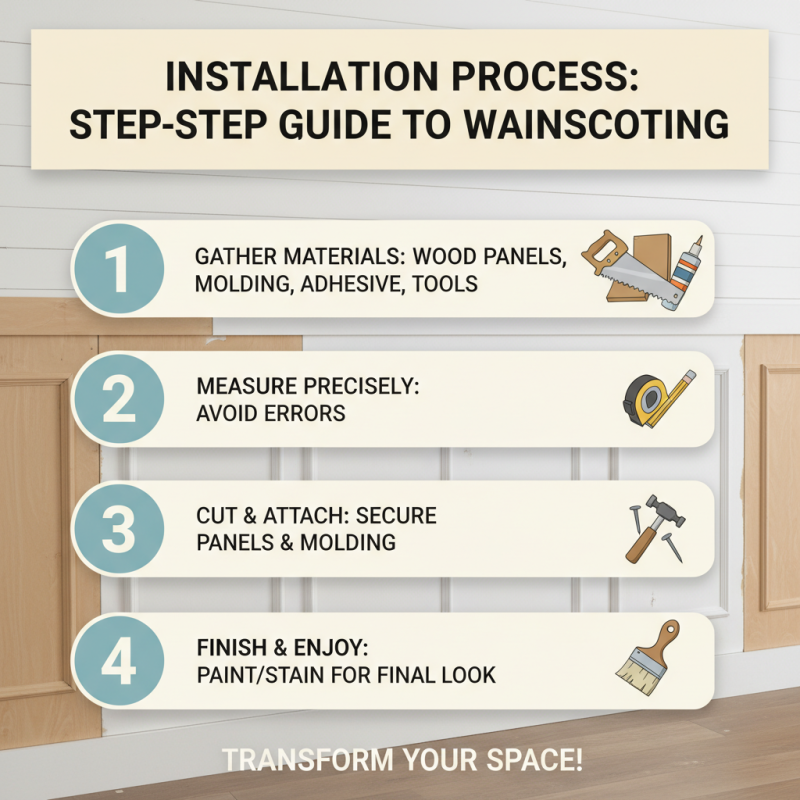
Installation Process: Step-by-Step Guide to Wainscoting
Installing raised panel wainscoting can transform your indoor space. Begin by gathering your materials. You will need wood panels, molding, adhesive, and tools. Ensure that your measurements are precise; even a small error can lead to a noticeable flaw.
The installation starts with measuring the wall. Mark the height where the wainscoting will go. Cut the panels to size. Use a level to verify that your lines are straight. This helps to avoid uneven panels, which can ruin the aesthetic. Secure the panels with adhesive or nails. Make sure everything is aligned properly.
**Tip:** Take your time with cuts and fittings. An ill-fitting panel can lead to gaps and misalignments later on.
Next, attach molding to cover the seams. This adds a polished look to the installation. If you notice any imperfections, consider caulking the edges for a cleaner finish. Finally, sand any rough spots and paint or stain as desired.
**Tip:** Test your paint on a scrap piece before applying. You want to avoid a color that clashes with your decor.