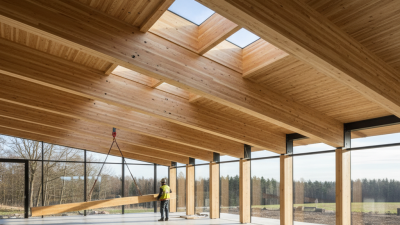


Choosing the right glulam beam starts with more than comparing prices or selecting a familiar size. The beam must suit its span, expected loads, support conditions, and exposure to moisture. A clear-span living room, for example, places different demands on a beam than a sheltered porch. Small details matter. A bearing point shifted only a few inches can change the design.
Dr. Robert J. Ross is a wood-products researcher whose work has included wood durability and structural performance. The following is a paraphrase of a sound engineering principle, not a verbatim quotation: “Choose a beam for its loads, span, supports, and service conditions—not appearance alone.” That principle frames these seven tips. They cover measurements, load information, grades, moisture exposure, connections, finish requirements, and professional review. A beam that looks substantial may still be unsuitable.
Bring accurate plans to the supplier or design professional. Include the clear span, beam location, support details, and any concentrated loads from walls or floors above. Note whether the beam will sit indoors, near a damp area, or under an exposed roof. Ask how the specified grade and dimensions relate to the design—not just what is in stock. This guide offers practical checks, but it cannot replace project-specific structural design. Even experienced builders can overlook a connection detail. That deserves a second look.
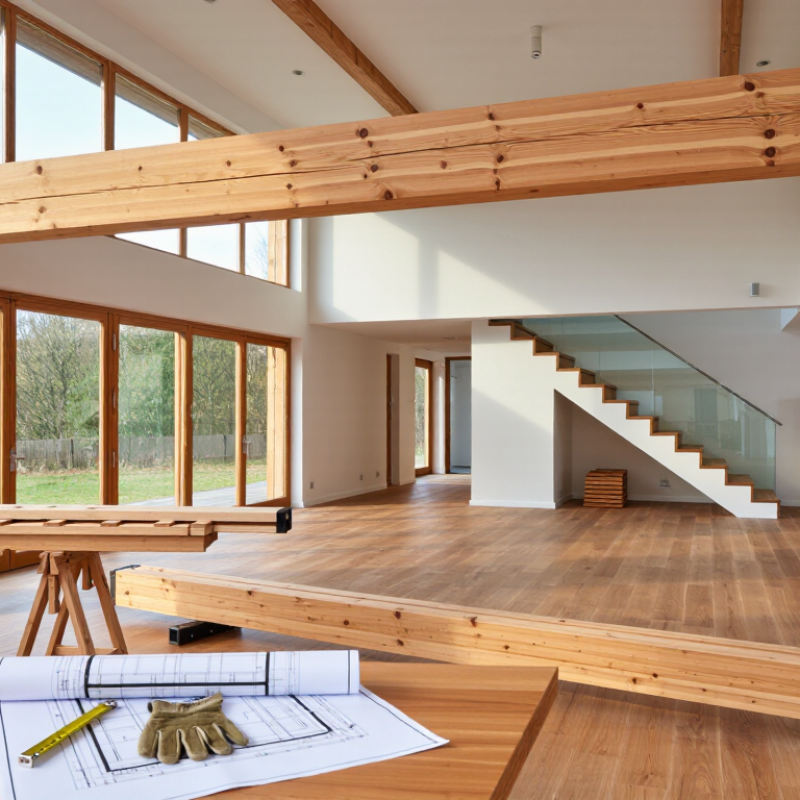
Before selecting a glulam beam, measure the clear span and identify its supports. Then calculate the load path: how much roof or floor area does the beam carry? Include dead load, occupancy, snow, and any concentrated loads from posts or equipment. A common estimating mistake is to use span alone. Two beams of equal length may need different sizes because their tributary widths or support conditions differ. Small details matter.
Use the locally adopted building code and a qualified structural designer to establish loads, deflection limits, and connection requirements. ASCE/SEI 7-22 sets minimum design loads for buildings, while the National Design Specification provides wood-design provisions. Moisture deserves attention, too: the USDA Forest Products Laboratory’s Wood Handbook (FPL-GTR-282, 2021) places wood’s fiber-saturation point at roughly 30% moisture content; properties can change as wood dries below that point. Specify exposure conditions and protect the beam from persistent wetting. I would still verify assumptions on site: a support shifted by a few inches can change the effective span and connection forces. Ask the designer to check bearing length, lateral restraint, and the actual reactions before ordering.
Choosing the right glulam beam starts with its structural grade, not its color. Grades describe properties such as bending strength and stiffness, but naming systems can vary. Check the published design values for the exact layup and product. A beam spanning a clear living-room opening may need different performance from one supporting a short porch roof. Loads, span, connections, and moisture exposure all matter. Ask a qualified design professional to confirm the selection against project requirements. Small details count.
Species affects strength, weight, color, and grain. Douglas fir often has a warm, pronounced grain, while other species may look lighter or more uniform. Availability can narrow the options, too. Appearance classes describe visible features such as knots, color variation, and surface finish; they do not replace structural grading. A premium appearance class may suit an exposed ceiling, where knots catch the eye under angled light. For a concealed beam, paying for a clearer face may add little value. There is a trade-off. Even so, samples can mislead: full-length beams may show more color variation than a small swatch. Compare actual project priorities, and leave room to reconsider the finish once lighting and adjacent materials are known.
Choosing glulam dimensions starts with the clear span, expected loads, and support locations. Measure between bearing points, not just wall edges. A deeper beam may control deflection, while added width can affect connection details and bearing space. Check the beam’s grade and layup, too; identical-looking members may have different design values. A tidy fit is not proof of adequate capacity.
Tips: Record the span, roof or floor loads, and support conditions before selecting a size. Note openings, concentrated loads, and any planned notches. Small details matter.
Confirm the proposed beam against the design loads, including dead, live, and environmental loads where applicable. Capacity depends on more than dimensions: material properties, lateral bracing, bearing length, connections, and service conditions all play a part. Check both strength and deflection; a beam can resist failure yet still feel too flexible. Moisture exposure may also change the appropriate specification. When loads or supports are uncertain, have a qualified structural professional verify the selection. It can feel like an extra step, but guessing from a span chart alone is not a dependable design method.
Before selecting a glulam beam, identify the conditions it will actually face. A covered interior space differs from an open porch exposed to wind-driven rain. A beam near a roof leak or condensation line may stay damp longer than expected. That matters. Check the project documents and applicable standards for the required exposure classification; terms and requirements can vary by jurisdiction and specification.
Treatment should match the exposure, not just the beam’s location on a drawing. Preservative treatment may be required in some damp or exterior settings, but it does not make every assembly weatherproof. Confirm the treatment is approved for the intended use, and ask how field cuts, holes, and connections should be protected. Water can collect at end grain, steel connectors, or tight pockets. Provide suitable flashing, drainage, and ventilation where the design allows. Small details matter.
Then verify the current local building code and the project’s structural requirements with the designer or building official. Glulam sizing and detailing can depend on loads, connection design, fire provisions, and moisture exposure. A beam that looks dry during installation may face different conditions after the walls close. It is easy to assume the drawing tells the whole story; sometimes it does not. Resolve unclear exposure notes before ordering, and keep the treatment and code documentation with the project records.
| Tip | What to Check | Practical Guidance | Relevant Standard or Code |
|---|---|---|---|
| 1. Define the exposure conditions | Whether the beam will remain in a dry, protected space or be exposed to moisture, weather, or recurring condensation. | Tell the designer where the beam will be installed and how it will be protected. Moisture conditions affect design assumptions and the suitability of the specified product. | Use the locally adopted building code and applicable National Design Specification® (NDS®) provisions for wood design. |
| 2. Specify treatment for the actual use | Whether preservative treatment is needed for the beam’s location and expected exposure. | Where treatment is required, specify a product treated and labeled for the intended use. Confirm that the treatment process and product are suitable for the structural member; do not assume every glulam beam is treated for exterior use. | AWPA U1 provides use-category requirements for preservative-treated wood. Confirm the applicable category with the project designer and local requirements. |
| 3. Check adhesive and product suitability | The manufacturer’s documented suitability for the specified service conditions, including any exterior or wet-use requirements. | Use glulam manufactured to the applicable product standard and specified for the intended exposure. A coating or surface treatment alone does not establish that a beam is suitable for prolonged wet exposure. | ANSI A190.1 covers the manufacture of structural glued laminated timber. Check the project specifications and product documentation. |
| 4. Plan moisture protection and drainage | Potential water traps at beam ends, connections, pockets, ledges, and roof or wall interfaces. | Detail flashing, drainage, ventilation, and end-grain protection as appropriate. Keep the beam from standing in water and provide a way for incidental moisture to drain and the assembly to dry. | Follow the locally adopted building code, approved construction documents, and the project’s building-envelope details. |
| 5. Confirm structural design requirements | Span, loads, support conditions, deflection limits, connection forces, and any required fire or vibration performance. | Have a qualified design professional select the beam size and grade. Do not choose a beam from span alone; loads, restraints, bearing, and connection design also matter. | The adopted building code and its referenced NDS edition govern structural wood design. Check local amendments and project-specific requirements. |
| 6. Verify grade and identification | Grade, layup or combination symbol, dimensions, and required inspection or certification information. | Check the beam’s grade stamp or accompanying documentation against the structural drawings and specifications before installation. Contact the supplier or designer if identification is missing or does not match. | ANSI A190.1 and the project specifications address manufacturing and identification requirements; confirm the requirements applicable to the specified product. |
| 7. Check local code and fire requirements | Which code edition is adopted, local amendments, intended occupancy, and any required fire-resistance rating. | Confirm approval requirements with the building official or design professional before ordering. Fire-resistance provisions depend on the building design and applicable code; do not infer a rating from beam size alone. | Use the locally adopted International Building Code (IBC), where applicable, or the governing local building code and referenced standards. |
Code editions and amendments vary by jurisdiction. Confirm the governing requirements and final beam specification with the project’s qualified design professional and local building authority.
A glulam beam can be correctly sized and still cause trouble if its connections are treated as an afterthought. Confirm connector types, bolt locations, steel plate dimensions, and required clearances with the project engineer before fabrication. Check how the beam meets columns or walls, too. A small clash with a hanger or service line can mean costly site adjustments.
Delivery planning deserves the same attention. Measure the route from the truck to the building, including gates, overhead obstructions, turning space, and ground conditions. A long beam may need a crane, but the crane needs stable setup space and a clear lifting path. Keep the delivery sequence tied to the installation schedule. Otherwise, beams may sit exposed while crews wait. Protect them from standing water and prolonged weather exposure, while allowing airflow around protective wrapping.
Installation details should be agreed on before the truck arrives. Confirm lifting points and rigging requirements with the supplier and project team; never guess where to attach slings. Prepare temporary bracing, access equipment, and the correct fasteners. Check that supports are level and ready to receive the beam. On paper, tolerances can look generous. On site, a few millimeters may matter. Field cuts or notches should not be improvised; get approval before changing a structural member. Even careful plans miss things. A final walk-through with the installer can catch the awkward detail nobody noticed on the drawing.